Java – JSP File Uploader Tutorial
Posted on 2018/03/15 at 1:12 am

Java is one of my favorite programming languages due to its straightforward nature and plethora of built-in options. It has a robust tie with web related technologies such as HTML, CSS, and JavaScript and is made easy to leverage through its server Tomcat. In addition to all that, the community is strong and provides additional functionality through Java ARchives (JARs).
Now, if you have a web application and want dynamic pages and to leverage Java, you can use Java Server Pages (JSP) to create dynamic interfaces and data streams/access. This tutorial will be on how to upload a file through an HTML Form and JSP processing it to save to the server. To do this, you'll need to use Tomcat with or without Apache/Nginx and Java 8 or up. For this example, I'll be using Tomcat in standalone than coupling it with one of the other options. I'm programing on an Ubuntu based distribution so be aware of how your system interacts with Java and vise versa.
- Setup
- Code Breakdown
- Conclusion
- Full Code
- Images
Setup
Tomcat Download
Let's start off by getting Tomcat and setting it up. Go to Tomcat 9 Download page and look under Binary Distributions. There, click on either the 32bit or 64 bit "core" zip for Windows if on Windows or simply select the first "core" zip in the list if on Linux. From there, unzip it to a location you want to work from. Mine is in my home directory under a folder called "Portable_Apps". I unzip it and called it "Tomcat-9".
Tomcat Setup
Once unzipped and located where you want it, you will want to change its setting in order to use it fully. So, head into the directory and you will see many folders. Of them, there are four key folders to really pay attention to for this task. They are "bin", "conf", "lib", and "webapps". First, head to "conf" and edit the tomcat-users.xml file. In general, you'll want to add a user that can access the "manager-gui" application that allows you to control what web applications are present. To do this, head to the bottom of the file where the commented out accounts are. Copy or type out an account that isn't commented out. Mine looks looks so:
<user username="admin" password="1234" roles="tomcat,manager-gui"/>
Please note that the password needs to be something that is actually strong and in addition to that you should try to name the user as something that can't be guessed by others. Anyway, go ahead and save the file. From there, take a look at the server.xml file. Find:
<Connector port="8080" protocol="HTTP/1.1"
                    connectionTimeout="20000"
                    redirectPort="8443"
                    address="0.0.0.0" />
You can change the port or add multiple Connector sections to have multiple ports accessible for multiple applications. Please note that I have added the "address" part and it is by default not present. The addition let's my network connect to the application after I've allowed the port to be accessed through the firewall rules. In Linux, for me, this was as simple as making sure UFW was installed and up and then in a terminal doing "sudo ufw allow <portNumber>/tcp".
OK, before we start Tomcat, we will want to get some additional libraries so that we can handle a file being sent to the JSP file. Go to these links and find the newest versions.
Links:
Once downloaded, simply unzip them and ignore all but the JAR that has the name and version number. Move these JARs to the "lib" folder that I mentioned earlier. If you started Tomcat before this step, stop it and then start it so the libraries will load. If not, we are then ready to start Tomcat. To do this, open a command line or terminal and change directories to the "bin" folder.
From there, do:
// Linux
./catalina.sh start

// Windows
.\catalina.bat start
You might need to make the shell file executable and you can do this by running "chmod +x catalina.sh" from the folder in the terminal. If everything went well, you should see "Tomcat started." as part of the output. You can now go to your webbrowser and type localhost:8080. If you see "If you're seeing this, you've successfully installed Tomcat. Congratulations!" then we are set. To stop the server, simply replace "start" with "stop". It's time we managed our applications a bit.
Tomcat Manage Applications
On the page, to your right, you'll see a button called "Manager App". Click it and login using the user information you created earlier. Here, we'll see all the applications that are present. This coincides with the "webapps" folder I mentioned. In manager, the paths math the folder names in the "webapps" folder. Only "ROOT" doesn't follow the naming scheme since it is just a forward slash. "ROOT" also is the container for what you saw when you loaded the page. We'll want to move its contents to another location. In the "webapps" folder add a new folder called "toor". Then, in the manager page, find the "Deploy" section and type toor into the "Context Path" section. Click "Deploy" and the section will be added. The rest is up to you but I'd Undeploy the "docs" and "examples" section to clear up space. Note, the folders will be deleted if you do this.
OK, move the "ROOT" contents to the "toor" folder and then create two folders in the "ROOT" folder. They are "data" and "WEB-INF". In the "WEB-INF" folder add a file called "web.xml".
In it, add:
<?xml version="1.0" encoding="UTF-8"?>
<web-app xmlns="http://xmlns.jcp.org/xml/ns/javaee"
  xmlns:xsi="http://www.w3.org/2001/XMLSchema-instance"
  xsi:schemaLocation="http://xmlns.jcp.org/xml/ns/javaee
                      http://xmlns.jcp.org/xml/ns/javaee/web-app_4_0.xsd"
  version="4.0"
  metadata-complete="true">

  <display-name>File Uploader & Downloader</display-name>
  <description>
     File Uploader & Downloader
  </description>
</web-app>
OK, it's time we write some code.
Code Breakdown
HTML
There are really only two parts to this section, a form and an iframe. The rest is just fluff that HTML pages need for proper setup. Simply create the structure in an "index.html" file and insert the below into the "body" tag.
This is the important code:
<h2>File Uploader</h2>
    <form action="Uploader.jsp" method="post" enctype="multipart/form-data" target="FormSubmitter">
        <input type="reset" value="Clear">
        <input type="submit" name="submit"  value="Upload" />
        <input type="file" name="file" multiple />
    </form>
<iframe name="FormSubmitter" frameborder="0" style="width:100%;height:35em"></iframe>
Let's break this down and understand the parts. We have a form and its action is the JSP file, "Uploader.jsp". The JSP file will process the submitted info to it and save it. The method used is "post" because what is being submitted is a file or files. The encode type is "multipart/form-data" because we will have to submit files and this setting is what is used to do so. From there, to avoid redirecting the page on submission, we send the process to the iframe.
In the form part, we have three input tags. The first simply clears the form data. The second submits the form or in this case the files. The third is the file selector. Reference the Full HTML section if you need to know the structure of the rest of the file. OK, we can now look at our JSP file, the good meaty Java code that glues this whole thing together.
JSP
Go ahead and create a JSP file called "Uploader.jsp". In the beginning, there was imports. In this beginning, we need a few of them.
Let's look at them:
<%@ page import="org.apache.commons.fileupload.servlet.ServletFileUpload"%>
<%@ page import="org.apache.commons.fileupload.disk.DiskFileItemFactory"%>
<%@ page import="org.apache.commons.fileupload.*"%>
<%@ page import="java.util.Iterator" %>
<%@ page import="java.util.List" %>
<%@ page import="java.io.File" %>
If we look at the imports, we already can get an idea of the structure of the program or take guesses as to how it might be written. We will iterate through a list of the uploaded file(s) and probably use the File object to write the selected file to a location. The other imports handle the actual receiving of the data. Now that we have the needed imports, let's get some initial stuff set up.
Here is the start of the code:
<%
    boolean isMultipart = ServletFileUpload.isMultipartContent(request);
    String dirPath = getServletContext().getRealPath("/").replace('\\', '/') +
                                                                      "data/";
    String itemName;
    File file;


    out.println(
        "<!DOCTYPE html>"
        + "<html><head>"
        + "<meta http-equiv=\"content-type\" content=\"text/html; charset=utf-8\" />"
        + "<title>Results</title>"
        + "</head> <body>"
    );
Let's break this down and understand the parts. The first is a boolean that we will check against to see if the data being sent is of multipart/form-data. The next part is the proper path to the "data" folder we created a while back. For Windows, I'm pretty sure you don't need the "replace" part. We then setup a String called "itemName" that'll be used to get the file name from the iterated data to then join with the "dirPath" so we can save it in the proper location. We also setup a File object we'll use later. After all that, we print out the initial HTML syntax for return of the listed out "data" folder in HTML. We are well on our way to being able to upload files to our server. Let's cover the middle meat of our JSP.
Here is the code:
// Save file if present
if (isMultipart) {
    FileItemFactory factory = new DiskFileItemFactory();
    ServletFileUpload upload = new ServletFileUpload(factory);
    List list = null;

    try { list = upload.parseRequest(request);
    } catch (FileUploadException e) { out.println(e); }

    Iterator itr = list.iterator();
    while (itr.hasNext()) {
        FileItem item = (FileItem) itr.next();
        if (!item.isFormField()) {
            try {
                itemName = item.getName();
                file = new File(dirPath + itemName);
                item.write(file);
            } catch (Exception e) { }
        }
    }
} else {
    out.println("<h2>Not multi-part transmitted...</h2>");
}
As was stated, we first check to see if the data being sent is of multipart/form-data. If not we just return a message saying it's incorrectly submitted. If it's correct, we do some initial setting up processes by creating a FileItemFactory object. This is an interface for creating FileItem instances which are themselves a representation of the file or formfield data which will be stored in memory or on disk as temporary files. Files are stored in memory if small and on disk if too large when checked against the default size or the one you specify (We aren't specifying size for this guide.). We then use a high level API for processing file uploads by way of the ServletFileUpload object.
To determine files, we use the "parseRequest" method to get a list of files that are then sent to the previously created List object that is null. We do as previously mentioned and set up an Iterator object and traverse it with a while loop. In the while loop we create our FileItem which represents our listed file. We check to see if the FileItem instance represents a simple form field or an actual file. If it's a file, we then get its name and then merge that name with the previously determined directory path. (Some of these settings can be setup in the "web.xml" we created but in this case we hard coded it.) This all is set in a new File object. We then use the FileItem object to write its data to the new File object we created and thus "upload" the file. Let's finish the JSP code by returning a list of the files in the directory.
Here is the code:
// List directory
File curentDir = new File(dirPath);
String[] list = curentDir.list();
out.println("<ol>");
for (int i=0; i<list.length; i++) {
        out.print("<li><a href='data/" + list[i] + "'/>" + list[i] + "</a></li>");
}
out.println("</ol>");
out.println("</body></html>");
%>
This last part is a bit of an added bonus. We will list the directory containing our files. Let's break it down. We first create a new File Object and reference the "data" directory path. We list it out in a newly created String array object which we will use below. But next, we print out the "ordered list" tag. We then loop through the String array and printout HTML that has the "list item" tag and an anchor" tag nested in it that references the path and name of the file. We then close out all tags and party like it's 1941.
Conclusion
Discussion
At this point, you should add some CSS to get things styled the way you want it to. There isn't too much I'm aware of that needs covering given the simplicity of the task. Upload file, process file, return data, and that's it. (Take note that we are not sanitizing the file name! This is a security risk and is NOT recommended. Make sure to sanitize any and all user input/data.) You might want to look at other tasks like filling a database up with user input or make a directory traverser to view videos, images, or text files. It's all up to you. If you know Java, then JSP is pretty much that but with web technologies.
For Next Time
For next time, one should look at limiting upload sizes. In this example and for my personal usage, I don't want a limitation since I'm working with my own files. In production though, it is IMPERATIVE that files be limited in size and there needs to be checks so as the server's disk space isn't by accident consumed entirely by a person uploading a file. Other than that, I have no other thoughts on the matter.
Full Code
HTML
<!DOCTYPE html>
<html>
<head>
    <meta http-equiv="content-type" content="text/html; charset=utf-8" />
    <title>File Uploader</title>
</head>
<body>


<h2>File Uploader</h2>
    <form action="Uploader.jsp" method="post" enctype="multipart/form-data" target="FormSubmitter">
        <input type="reset" value="Clear">
        <input type="submit" name="submit"  value="Upload" />
        <input type="file" name="file" multiple />
    </form>

<iframe name="FormSubmitter" frameborder="0" style="width:100%;height:35em"></iframe>
</body>
</html>
JSP
<%@ page import="org.apache.commons.fileupload.servlet.ServletFileUpload"%>
<%@ page import="org.apache.commons.fileupload.disk.DiskFileItemFactory"%>
<%@ page import="org.apache.commons.fileupload.*"%>
<%@ page import="java.util.Iterator" %>
<%@ page import="java.util.List" %>
<%@ page import="java.io.File" %>

<%
    boolean isMultipart = ServletFileUpload.isMultipartContent(request);
    String dirPath = getServletContext().getRealPath("/").replace('\\', '/') +
                                                                      "data/";
    String itemName;
    File file;


    out.println(
        "<!DOCTYPE html>"
        + "<html><head>"
        + "<meta http-equiv=\"content-type\" content=\"text/html; charset=utf-8\" />"
        + "<title>Results</title>"
        + "</head> <body>"
    );

    // Save file if present
    if (isMultipart) {
        FileItemFactory factory = new DiskFileItemFactory();
        ServletFileUpload upload = new ServletFileUpload(factory);
        List list = null;

        try { list = upload.parseRequest(request);
        } catch (FileUploadException e) { out.println(e); }

        Iterator itr = list.iterator();
        while (itr.hasNext()) {
            FileItem item = (FileItem) itr.next();
            if (!item.isFormField()) {
                try {
                    itemName = item.getName();
                    file = new File(dirPath + itemName);
                    item.write(file);
                } catch (Exception e) { }
            }
        }
    } else {
        out.println("<h2>Not multi-part transmitted...</h2>");
    }

    // List directory
    File curentDir = new File(dirPath);
    String[] list = curentDir.list();
    for (int i=0; i<list.length; i++) {
        String name = list[i].toLowerCase();
        if (name.contains(".png") || name.contains(".jpg")||
            name.contains(".gif") || name.contains(".jpeg")) {
                out.print("<div>" +
                          "<img src='data/" + list[i] + "'/></div>");
        } else {
            out.print("<a href='data/" + list[i] + "'/><div>" + list[i] + "</div></a>");
        }
    }

    out.println("</body></html>");
%>
Images
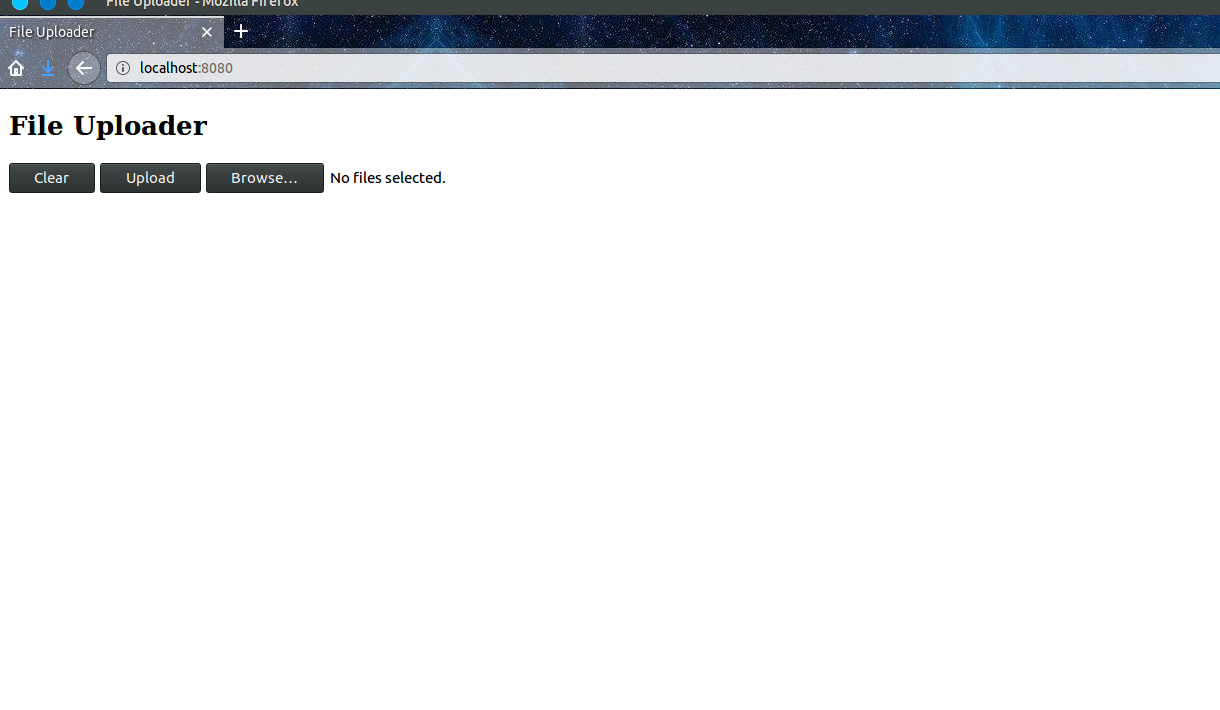
 before file select
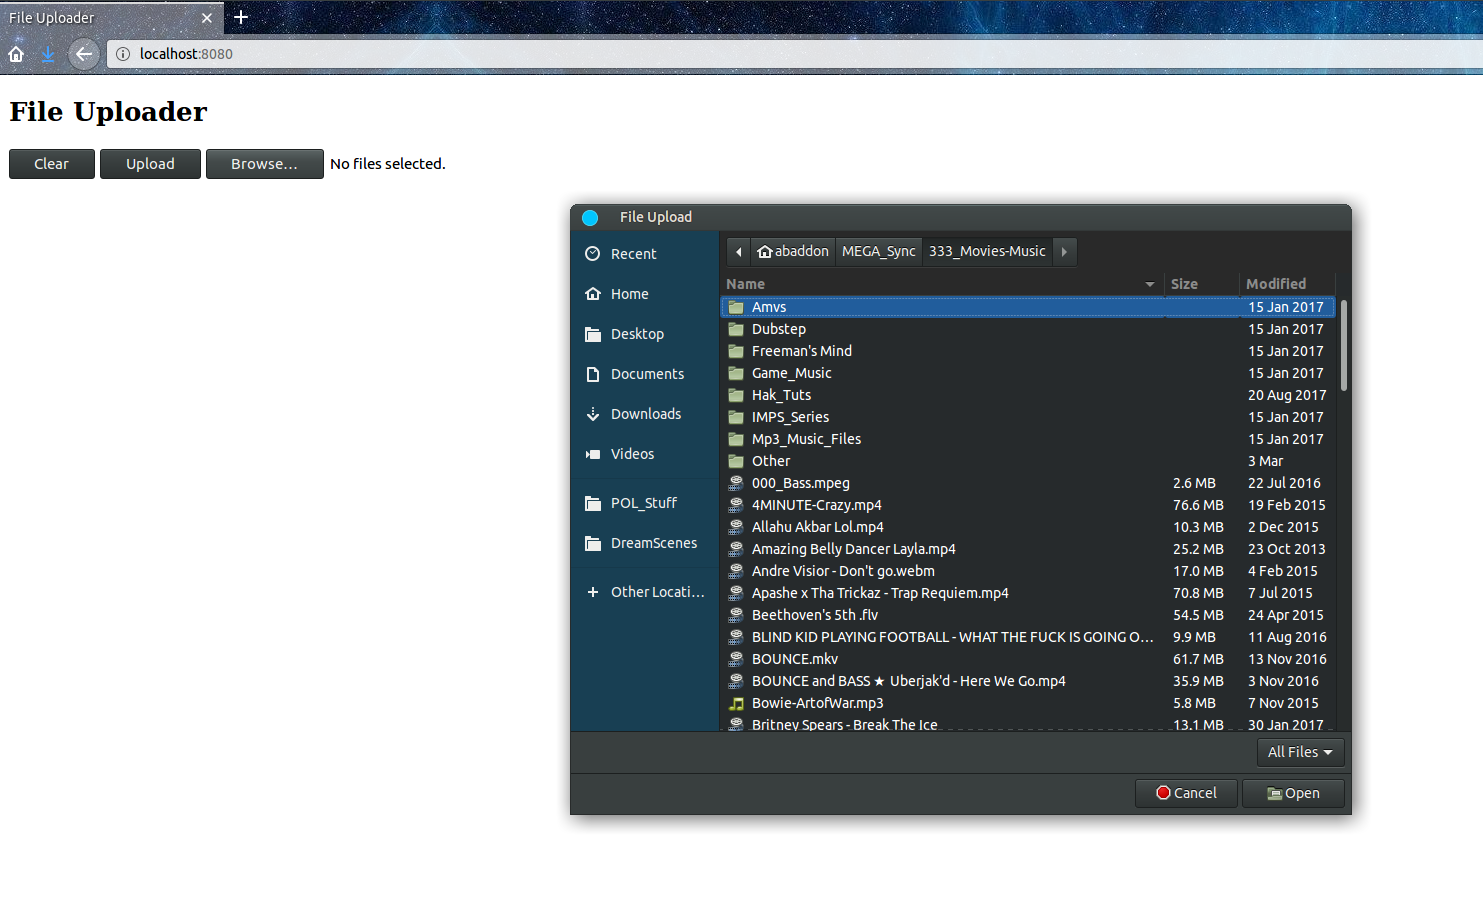
 file select
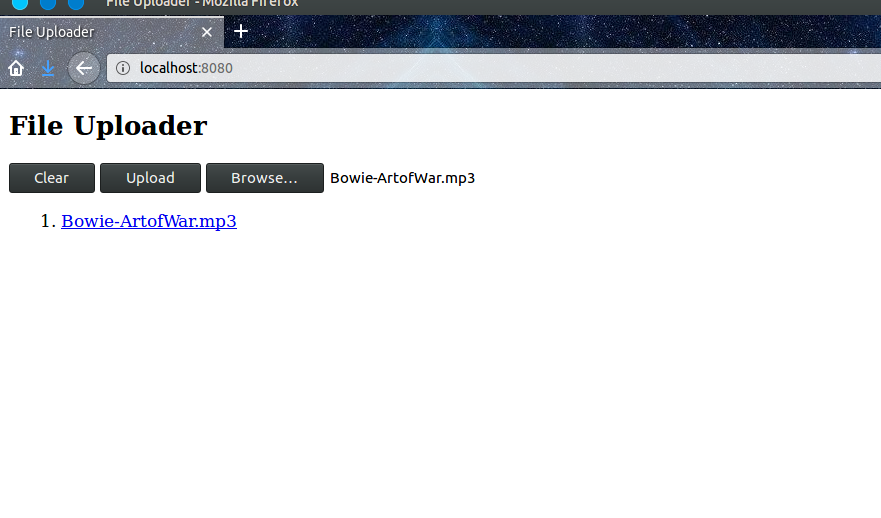
 file uploaded
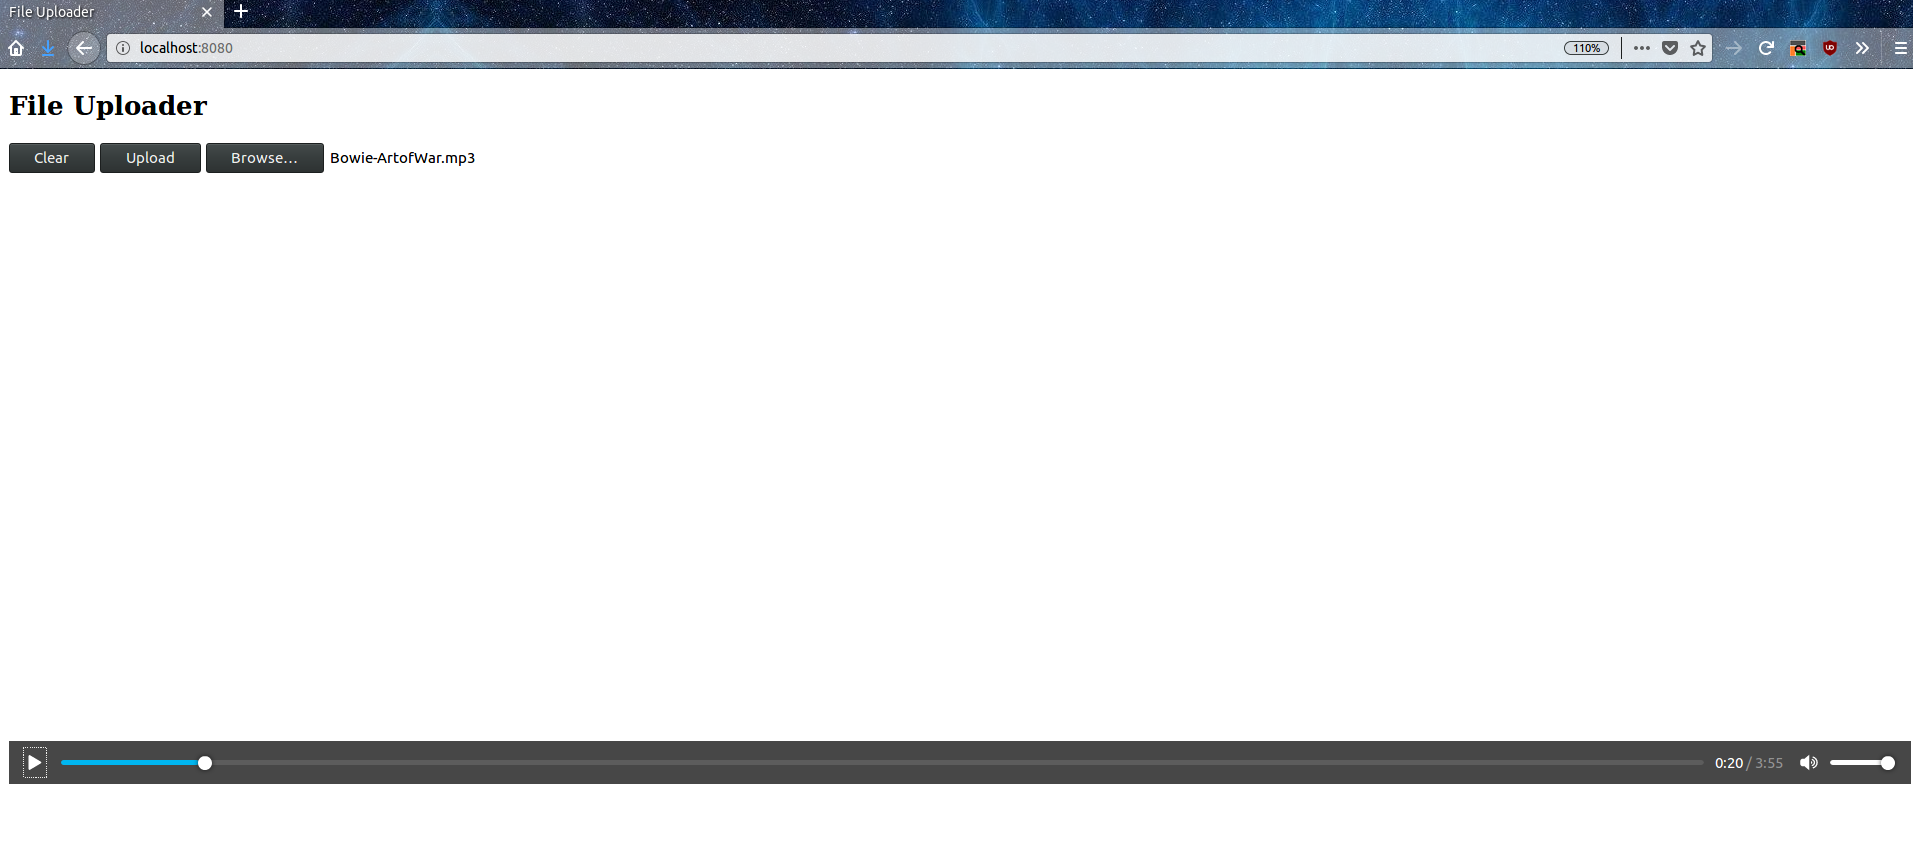
 file playing
To Top
To Bottom